How to Inspect Lube Deliveries
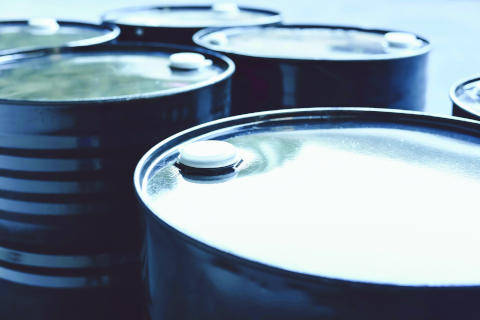 A few drums of oil were just delivered onsite and are sitting in front of the warehouse area. What now? Just put them inside and mark them as part of the inventory? Is that it? No.
Checklists For New Lubricant Deliveries:
- Delivery Requisition
- Check Packaging Integrity
- Check Lubricant Quality
- Check Safety and Storage Check
Delivery Requisition Check
Upon delivery, the receiving clerk at the warehousing area should begin by verifying the lubricants being delivered meet the requirements of the original purchase requisition. This includes:
- On-Time: Were they delivered in a timely manner, in the right place and in the requested packaging?
- Right Product: Look at the label - are these the products requested? The product name must be verified in its entirety, not just a similar product.
- Blend Date: Were the lubricants blended on a reasonably recent date? The shelf life of a lubricant starts from the date it is first blended.
- Point of Fill: Ask the delivery representative where the lubricant came from and if the point of fill is known. Has there been any intermediate storage locations? What are the conditions of these locations?
- Certificate of Analysis (COA): Is a COA provided? Each lubricant blended at a blending plant should be analyzed to verify the product’s physical, chemical and performance properties. This will include lubricant analysis testing such as viscosity, oxidation stability, elemental analysis, FTIR and cleanliness.
Once the product delivered is verified to meet what was requested, a check must be made to verify the product's integrity. Lubricants are delivered in many different ways, and inspections must be taken after the oil arrives.
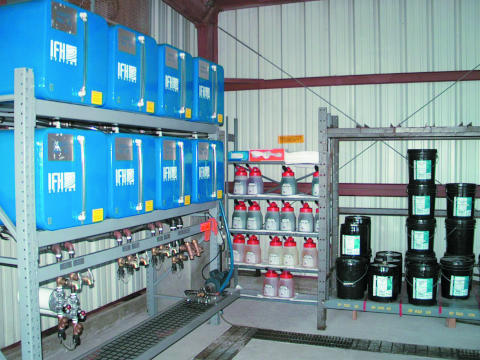 A. All Containers
Look for signs of:
- Degradation of or any illegibility on labelling (sticker, embossed, stamp, etc.)
- Broken seals on bungs, covers, gaskets, lids, etc.
- Leaks, drips, puddles of oil, grease smudges, etc.
- Corrosion on metal containers or any external body surface damage
- Particulate contaminant build-up in crevices on container design, especially near oil fill and drain points
- Water build-up evidence in pockets or areas near the ground, indicating evidence of outdoor storage
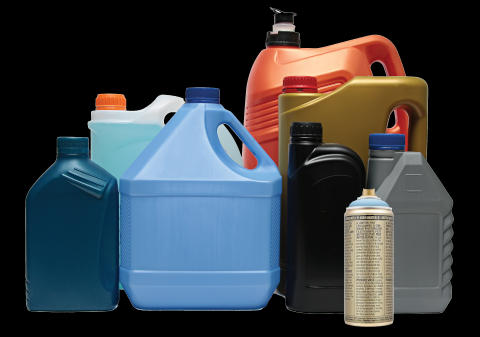 B. Small Containers (jugs, cans, spray cans)
Look for signs of:
- Cuts, indentions or dings from poor handling (possibly due to boxes stacked too high, pressing down on products inside)
- Previous oil or grease residue, possibly poor storage conditions (e.g., lubricants packaged in cartons can show signs of leakage on the cardboard)
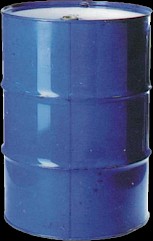 C. Steel Drums
Look for signs of:
- Suspicious welds indicating repair work
- Pitting
- Deformed containers, such as folds or creases when indentions exist, or previous indentions have been pressed or punched out
D. Plastic Drums
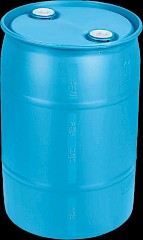 Look for signs of:
- Brittle fractures, cracks
- Dried out appearances
- Bends, indentions, folds
- Pitting
- Evaluate longitudinal and hoop stress
- Tank bottom, especially in ground contact areas
- Look at the bung for evidence of a broken seal (since the initial fill)
- Any signs of a container having been reused
- Oil level
- Coating and linings
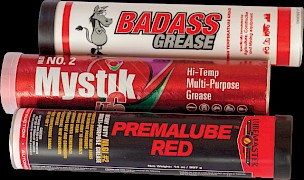 E. Grease Tubes
Look for signs of:
- Evidence of being stored on floors
- Tube direction
- Age
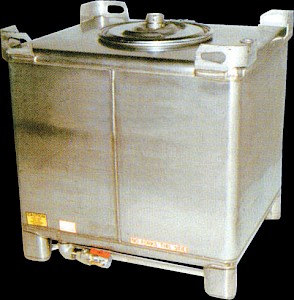 F. Intermediate Bulk Containers
Look for signs of:
- Bung open
- Pipe connections open
- Federal guidelines provided
- Quick connects
- Sediment build-up
- Quick connects closed
- Moisture in the headspace (condensation)
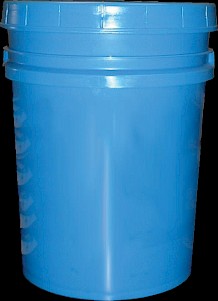 G. Grease Pails
Look for signs of:
- Does it look oxidized (changes in appearance)
- Oil separation
- Tankers/Bulk
- Corrosion, body damage
- Leaks
- Cracking on plastic
- Bends
- Indentions
- Deterioration
- Check seals
